
Gateway Support
SMTP Forwarding accounts filter incoming email and then forward that email on to an endpoint SMTP server.
This page describes the process for creating a new SMTP forwarding account using your Control Panel.
What You Need:
- IP or hostname of endpoint server.
- List of all domain names to be forwarded.
Set-up Procedure
Log into the Control Panel as a VISP, or Administrator.
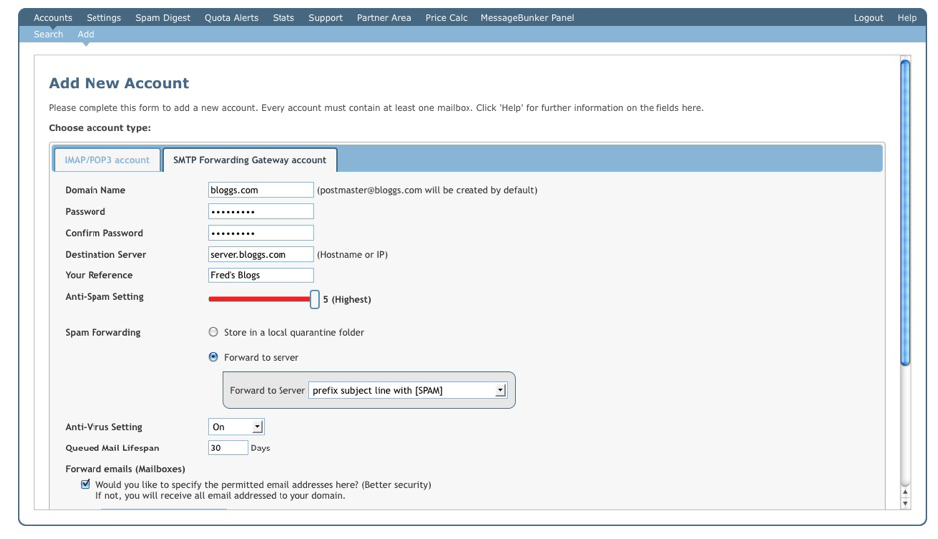
Click “Accounts” > “Add”, the following screen will appear:
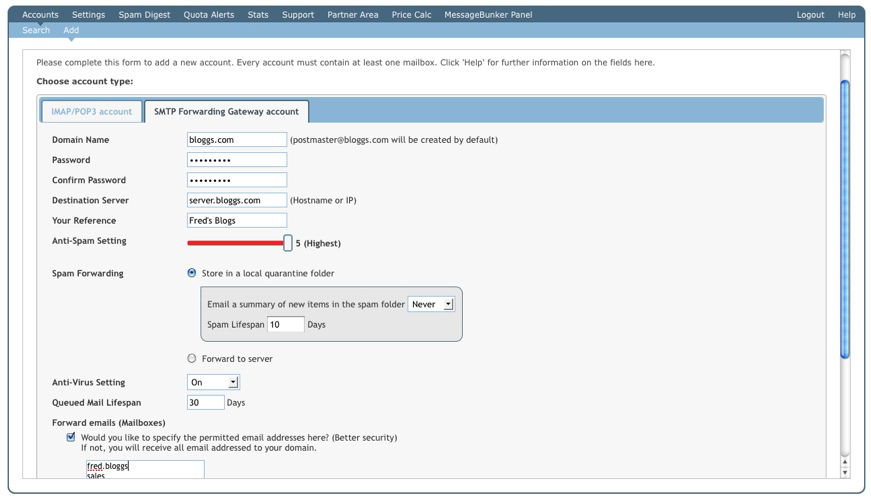
Email Address: Enter the primary email address in the format ‘postmaster@domain’
Password: User password.
Your Reference: Your internal reference for this user.
Default Anti-Spam/Virus Setting: We recommend using at least ‘Level 4’ for Anti-Spam and ‘On’ for Anti-Virus.
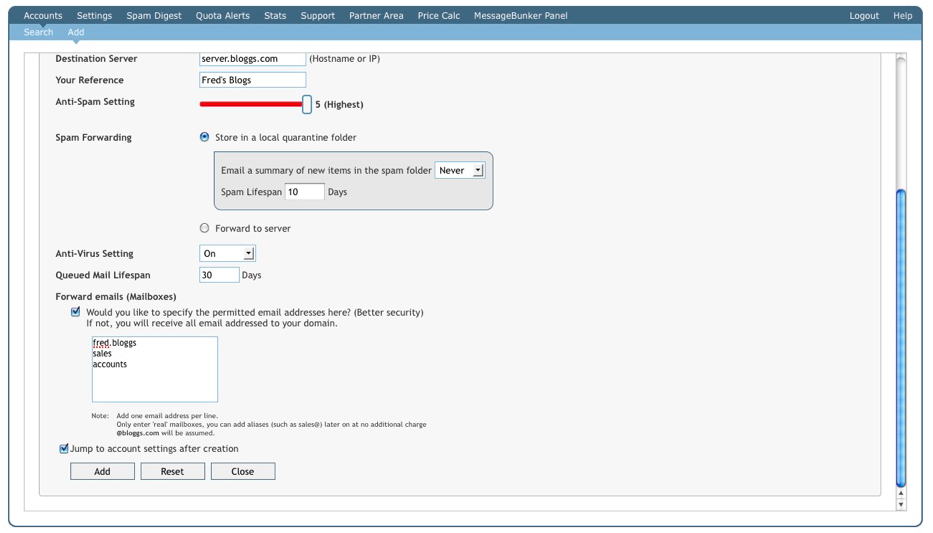
Quota: Total account disk quota. Default is sufficient in most cases.
Unread Email Lifespan: The number of days the email will stay in Inbox.
Spam Lifespan: The number of days the email will stay in the Spam folder.
Max Mailboxes: Number of seats.
Max Aliases: Number of aliases an account can have.
Max Domains: Number of domains an account can have.
IMAP Access: We recommend enabling IMAP, should you require IMAP access to the account.
Keep the “Jump to account settings after creation” selected.
Then click “Add”.
Once the screen has refreshed click on your primary (only) mailbox, then the “Protection” tab. The following screen will appear:
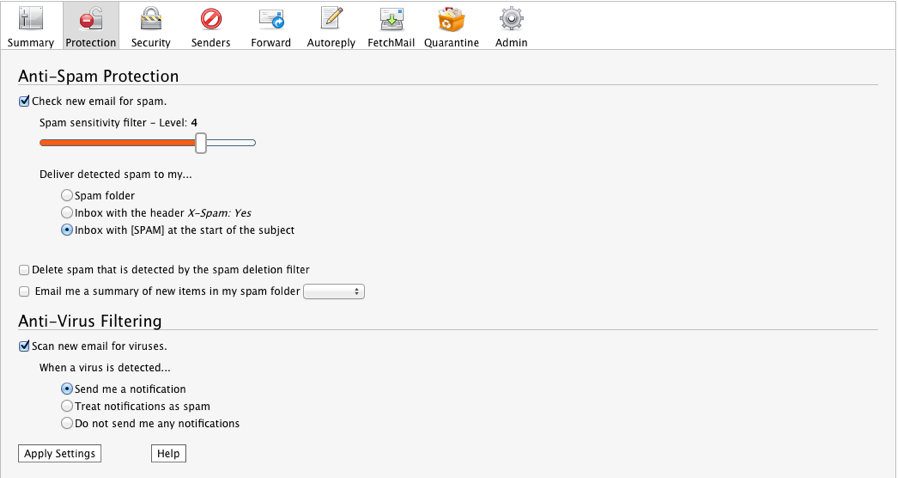
Check new email for spam using the “Level 5” sensitivity filter should be ticked by the previous selection during account creation.
Select “Inbox with [SPAM] at the start of the subject”.
Click “Apply Settings”. You can safely keep the rest of the options.
From the main Account Control Panel window select “SMTP Forwarding”, on the page that appears tick the “Enable SMTP Forwarding on this account” option.
Then set the following options:
Forward to: host.yourdomain.com (replace this with your hostname/ip).
Max Concurrent Connections: 5
Setting up Aliases
From the account Menu select “Alias” > “Add”. Enter * in the text box and select the domain from the drop down list, then set postmaster@domain as destination and click “Add” and “Close”.
If you intend to forward multiple domains under the same account then, as well as adding the other domain under “Domains”, you will have to repeat the aliasing steps above and point the destination to the primary mailbox (postmaster@domain).
The account is now ready for use. The customer must now change their MX records to route email to APM. For example:
Pref = 10, a.mx.verygoodemail.com
Pref = 20, b.mx.verygoodemail.com
SMTP forwarding can be disabled at any time. In this event, the account reverts to being a POP3/IMAP mailbox.
Enabling Spam Digest
We can provide daily (and weekly depending on setting) spam reports via email. In order to take advantage of the Spam Digest feature you need to create a real mailbox on our
system for each user that you want to enable this feature for.
You can find the Spam Digest feature under mailbox “Protection” tab as “Email me a summary of new items in my spam folder” (See last screenshot).